title: CAR-T cell thawing protocol: time, temperature and the viability checks that matter slug: car-t-cell-thawing-protocol category: Application Notes tags: cell therapy, CAR-T, thawing, viability, SOP excerpt: A practical CAR-T thawing protocol built around the 37 °C window, the four instrument settings that decide repeatability, and the records auditors ask for at release. description: CAR-T thawing protocol: the 37 C window, DMSO dilution timing, instrument settings and the viability checks to record before release. date: 2026-10-22 status: publish
A CAR-T batch starts with a thaw. The starting material is already the most expensive thing in the room, and the first ninety seconds after the bag leaves liquid nitrogen decide how much of it survives to the transduction step. Yet in many labs the thaw is still the least documented operation in the whole workflow: a water bath, a timer, and a note in a notebook.
This article is the protocol we see working in cell therapy labs, plus the instrument settings that make it repeatable between operators — and the point at which a simple thawing unit stops being enough for a regulated record.
Why the 37 °C window is unforgiving
Two things happen at the same time when a cryobag warms up.
The first is ice recrystallisation. Between roughly -40 °C and -10 °C, small ice crystals can grow into larger ones and damage membranes. Passing that band quickly, and finishing the thaw before the sample is fully liquid, is the standard mitigation. Most protocols therefore stop while a small ice core remains. Kemesser’s manuals put the recommended band at 5 %–15 % residual ice, and the instrument can be set to refuse a run if the sample is already warmer than the protection temperature.
The second is DMSO toxicity. Once the sample is liquid, the cryoprotectant is no longer protective; it is a toxin at room temperature. Every minute between "liquid" and "diluted" costs viability. This is why the thaw and the dilution step have to be planned as one operation, not two.
A thaw that is too slow exposes cells to DMSO longer. A thaw that overshoots 37 °C adds heat stress on top. The protocol below tries to keep both errors small.
A protocol you can run tomorrow
| Step | What to do | Target | What to record |
|---|---|---|---|
| 1. Prepare | Warm diluent to 37 °C, label tubes, pre-heat the instrument | Diluent ready before the bag moves | Operator, date, batch ID |
| 2. Retrieve | Move the bag from LN₂ or dry ice directly to the instrument | No ambient hold time | Source location, time out |
| 3. Thaw | Run at the validated setting; stop at the residual-ice target | 2–8 min for bags, depending on volume | Start time, end time, duration |
| 4. Dilute | Transfer and add diluent dropwise at the validated ratio | Within 1–2 minutes of removal | Volume, dilution ratio |
| 5. Centrifuge | Spin at the validated g-force and time | Per your SOP | g-force, time, temperature |
| 6. Resuspend | Resuspend in the release buffer for the next step | Per your SOP | Buffer, volume |
| 7. Check | Count and viability; retain a sample for identity testing | Per release criteria | Count, viability, method |
Two details matter more than the table suggests. First, step 2 has no hold time: the longer a bag sits on the bench, the more the outer layer warms while the core stays frozen. Second, step 4 should not wait for a second operator — dilution starts as soon as the bag is out.
The four settings that decide repeatability
A dry thawing instrument is only as good as its settings. Four parameters cover most of the variability between operators:
- Protection temperature (-40 °C to 0 °C). A refusal guard: if the sample is warmer than the set limit, the run will not start. For bags coming straight from LN₂ this catches a sample that sat out too long rather than thawing it.
- Residual-ice target. The point at which the run ends. The manuals recommend 5 %–15 %; pick one value and keep it for every batch so comparisons between runs mean something.
- Pre-heat. On the compact bag unit the pre-heat cycle takes 6–10 minutes and is not optional — a cold slot at the start of a run stretches the critical window.
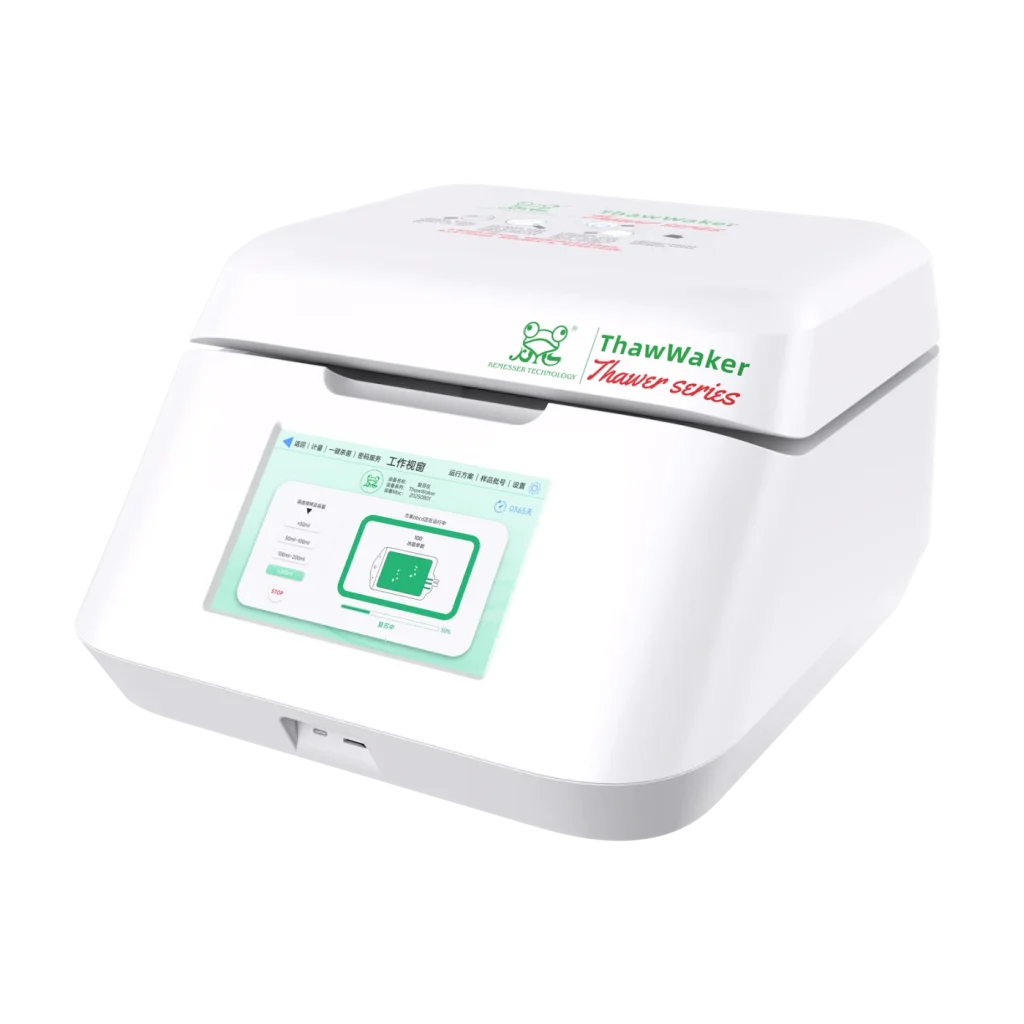
- Capacity range. Bags are not all the same volume. The bag system on ThawWaker offers four ranges (≤50, 50–100, 100–200 and ≥200 ml) and adapts the programme to the selected volume; choosing the wrong range changes thermal contact and run time.
On the compliance-grade instruments these settings are stored as named run protocols, so an operator recalls "CAR-T bag 50 ml" instead of typing numbers. That removes the most common source of drift we see in audits: two operators running the same product with slightly different parameters.
What "documented" actually means at release
If the thaw is part of your manufacturing record, three things need to be retrievable months later:
- A run record with time stamps and the parameters used. On ThawLINE Pro and ThawWaker this is written to SD card and printed on a Bluetooth thermal printer as a ten-field report when the sample is ejected — start time, finish time, thaw time, input temperature, leave temperature, port, sample number, device, user and MAC.
- An operator identity that is separate from the setup. Both instruments use three permission tiers (administrator, supervisor, operator), so the person who edits a protocol is not necessarily the person who runs it, and password expiry can be enforced. The base ThawLINE uses two tiers (administrator, operator); the compact ThawHome units have no account structure at all.
- A sanitisation record between samples. Ozone sanitising runs a 30-second cycle on ThawLINE, ThawLINE Pro and ThawWaker. ThawHome relies on its closed dry block and real-time alarms instead, so if you need a logged sanitisation step, that is a reason to choose upwards.
None of this replaces a validated SOP. It replaces the notebook page that says "thawed at 37 °C, looked fine".
Five failure modes worth checking first
When viability drops and nobody can explain it, these are the usual causes, in the order we would check them:
- Hold time between freezer and slot. A bag that sat on the bench for two minutes before thawing has already started to warm unevenly.
- Dilution started late. DMSO at room temperature for five minutes is enough to show up in a viability count.
- Overshoot. Target 37 °C measured at the sample, not at the setpoint. A block that is 39 °C will overheat the outer layer.
- Centrifugation before full dilution. Cells pellet badly in high DMSO and the loss is invisible until count.
- Operator drift. Two people, two slightly different protocols, two different results — the reason to store protocols rather than retype them.
Where the equipment decision fits
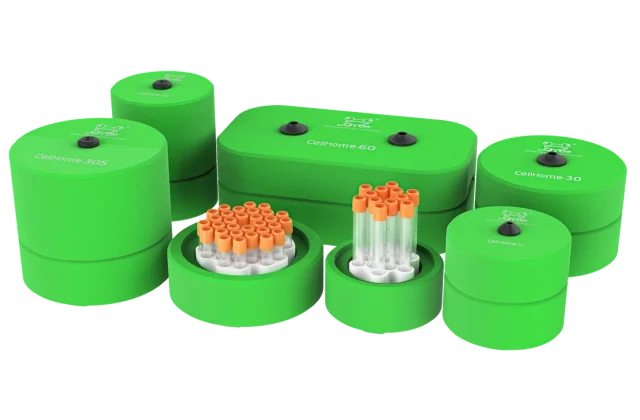
For early process development, a compact bag unit such as the ThawHome C bag unit with a 5–8 minute cycle is usually enough. It is dry and water-free, it alarms if the bag is left in the slot, and it shares its 120 W controller with the tube version, so spare parts stay simple. What it does not do is produce an account-controlled, printable record.
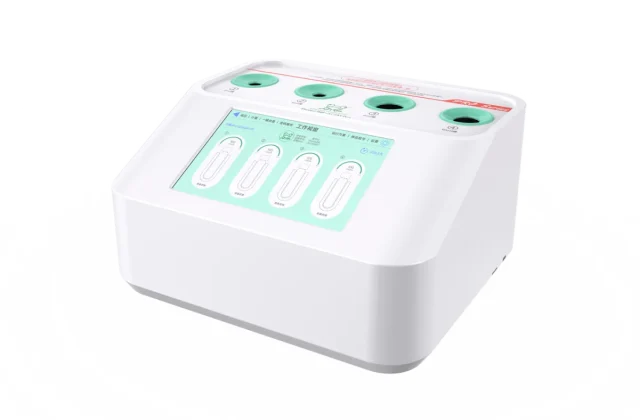
Once the thaw becomes part of a regulated record — multiple operators, stored protocols, printed reports — the step up is the ThawWaker bag system, which covers 30–450 ml, runs 2–8 minutes depending on bag volume, and adds three-tier access plus Bluetooth printing. For tube-based work the ThawLINE Pro does the same job with four 2 ml slots, 0.5–1.8 ml samples and a ≤3 minute cycle; the base ThawLINE keeps the dry, four-channel format at 2–8 minutes with two access tiers.
If you are still comparing a water bath with a dry instrument, the six practical differences are worth reading before you write the SOP, and the freezing side has its own set of decisions.
Whichever route you take, write the thaw protocol before you validate it, and keep the two parameters — residual ice and dilution timing — identical across batches. Everything else is easier to fix later.
If you want the settings above checked against your specific bag volume and starting material, send us the details and we will come back with a parameter sheet rather than a brochure.
<!– Facts: residual ice 5-15% and protection temp -40~0 C from knowledge base entity pages (ThawLINE/ThawLINE Pro/ThawWaker); ThawWaker 30-450 ml, 4 ranges, 2-8 min, 3-tier, 10-field report from ThawWaker English brochure (2026-10-22); ThawLINE Pro 4×2 ml, 0.5-1.8 ml, <=3 min from ThawLINE Pro-T2 English brochure; ThawHome C 50 ml bag, 15-45 ml, 5-8 min, 120 W, no accounts/SD/ozone from ThawHome C English brochure; ThawLINE base 2-tier, 2-8 min from ThawLINE English manual. –>