PBMC thawing is usually taught as a two-minute operation and then judged by a viability number a week later. The gap between those two moments is where most of the variability lives.
This protocol is written for a lab that already has a SOP and wants the thaw step to stop being the unexplained variable. It assumes cryovials or cryobags, a 37 °C target, and a dry thawing instrument rather than a water bath.
The window is shorter than the label suggests
Frozen PBMC contain intracellular ice and a cryoprotectant, usually DMSO. Two things have to happen in the right order:
- Get through the recrystallisation band quickly. Between roughly -40 °C and -10 °C, small ice crystals can grow and damage membranes. A fast, controlled pass through that band is the whole point of a thawing instrument.
- Stop before the sample is fully liquid. The manuals for Kemesser thawing instruments put the recommended end point at 5 %–15 % residual ice. A fully melted vial has already spent extra time at a temperature where DMSO is toxic.
The practical consequence: the thaw is not "warm it up", it is "pass the band and stop". A water bath left at 37 °C will keep going past that point until someone notices.
A protocol that holds up on a bench
| Step | Action | Target | Record |
|---|---|---|---|
| 1 | Warm the diluent and pre-heat the instrument | Diluent at 37 °C before the vial moves | Operator, date, sample ID |
| 2 | Move the vial from LN₂ or -80 °C directly into the slot | No bench hold time | Source, time out |
| 3 | Thaw at the validated setting | 2–8 min depending on container and volume | Start, end, duration |
| 4 | Transfer and dilute dropwise | Within 1–2 min of removal | Dilution ratio, volume |
| 5 | Centrifuge at the validated setting | Per your SOP | g-force, time, temperature |
| 6 | Resuspend in the assay buffer | Per your SOP | Buffer, volume |
| 7 | Count and assess viability | Per your acceptance criteria | Count, viability, method |
Two steps carry most of the risk. Step 2 has no hold time: a vial that sits on the bench for two minutes has already warmed unevenly. Step 4 should not wait for a second pair of hands — dilution starts as soon as the vial is out.
What the instrument settings actually do
On a dry thawing instrument, four settings decide whether two operators get the same result:
- Protection temperature (-40 °C to 0 °C). A refusal guard. If the sample arrives warmer than the set limit, the run does not start. This is what catches a vial that was left out, instead of quietly thawing it.
- Residual-ice target. Where the run ends. Pick one value in the 5 %–15 % band and keep it across batches.
- Pre-heat. On the compact ThawHome units this takes 6–10 minutes; skipping it stretches the critical window at the start of the run.
- Capacity range. Bag systems adapt the programme to the selected bag volume (ThawWaker offers four ranges from ≤50 ml to ≥200 ml). Choosing the wrong range changes thermal contact and run time.
On compliance-grade instruments these values are stored as named protocols, so an operator recalls "PBMC 2 ml" rather than retyping numbers.
The three numbers that explain most failures
When a PBMC thaw underperforms, the useful questions are numeric:
- Time from freezer to slot. Anything above a few seconds means the outer layer warmed while the core stayed frozen.
- Time from removal to dilution. DMSO at room temperature for five minutes is enough to show in a viability count.
- Run duration versus the validated duration. A run that finishes early or late means the setting, the container or the pre-heat changed.
Write these three down for every batch. After ten batches you will see which one drifts, and it is almost always the second.
Water bath versus dry instrument, for PBMC specifically
A 37 °C water bath works, and it is cheap. The costs are contamination risk at the tube interface, variable heat transfer depending on how the operator holds the vial, and no record of what happened. For PBMC — where samples are often pooled and a contamination event can cost an entire experiment — the contamination argument usually decides it.
A dry instrument removes the water contact and gives a repeatable end point. It does not remove the need for a SOP, and it does not dilute the sample for you. The six practical differences are worth reading before you rewrite the SOP.
Where the equipment decision lands
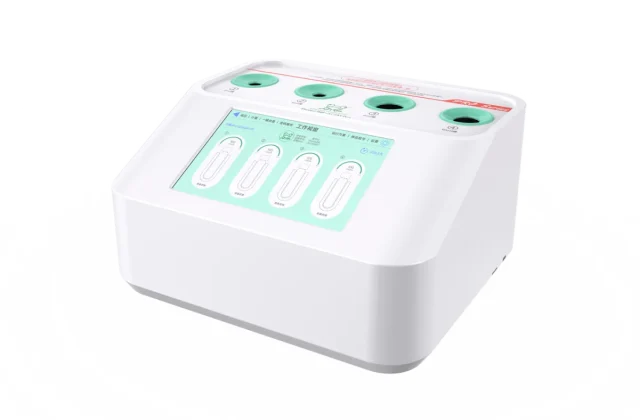
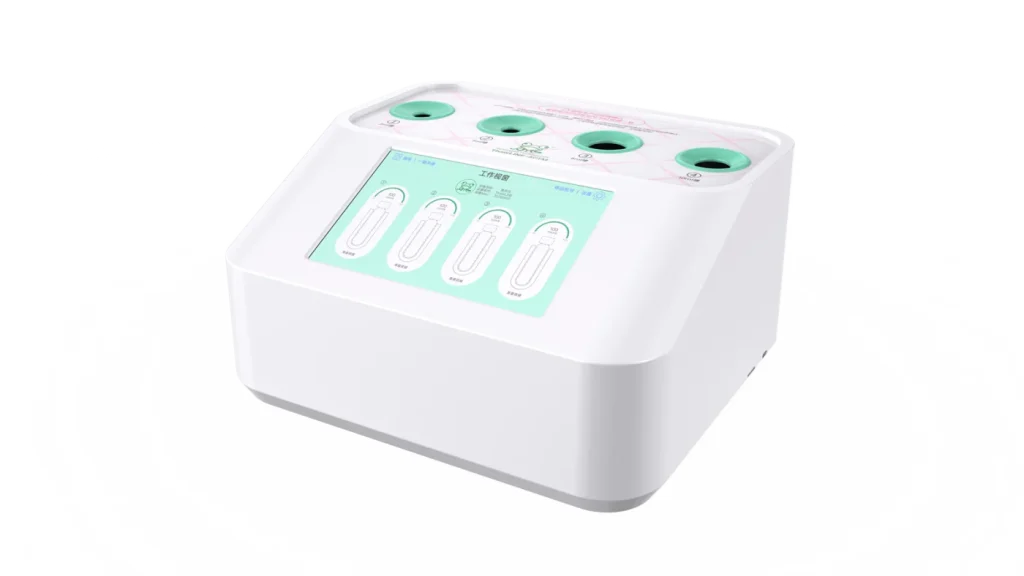
For research-scale PBMC work, a compact tube unit is usually enough: the ThawHome tube unit completes slot A in 2 minutes or less and slot B in 3 minutes or less for 0.5–4.5 ml samples, at 120 W and 3.4 kg. It has no account structure or SD record, which is fine if the thaw is not part of a regulated batch record.
If the thaw feeds a clinical or manufacturing record, the step up is the ThawLINE Pro: four 2 ml slots, ≤3 minutes, three permission tiers with password expiry, stored protocols and a ten-field printed report. The base ThawLINE sits between them — dry, four-channel, 2–8 minutes, two access levels.
Whichever unit you use, validate the two numbers that matter for PBMC — residual ice at removal and time to dilution — and keep them identical between operators. The rest of the protocol can be adjusted later; those two cannot.
If you want the settings checked against your vial volume and cryoprotectant, send us the details and we will reply with a parameter sheet.
<!– Facts: residual ice 5-15%, protection temp -40~0 C, preheat 6-10 min from knowledge base entity pages; ThawHome tube A<=2/B<=3 min, 120 W, 3.4 kg from ThawHome AB English brochure; ThawLINE Pro 4×2 ml, <=3 min, three tiers, ten-field report from ThawLINE Pro-T2 brochure; ThawLINE base 2-8 min, two tiers from ThawLINE English manual; ThawWaker four bag ranges from ThawWaker brochure. –>